In today's fast-paced world, staying organized is key to managing your responsibilities effectively. Whether you're juggling work, personal projects, or daily errands, having a reliable system to track your tasks can make all the difference. Life Planner is a powerful tool designed to help you manage your to-do list with ease and efficiency. In this blog post, we'll walk you through how to use Life Planner to keep your tasks in check and ensure nothing important slips through the cracks.
1. Accessing and Editing Tasks
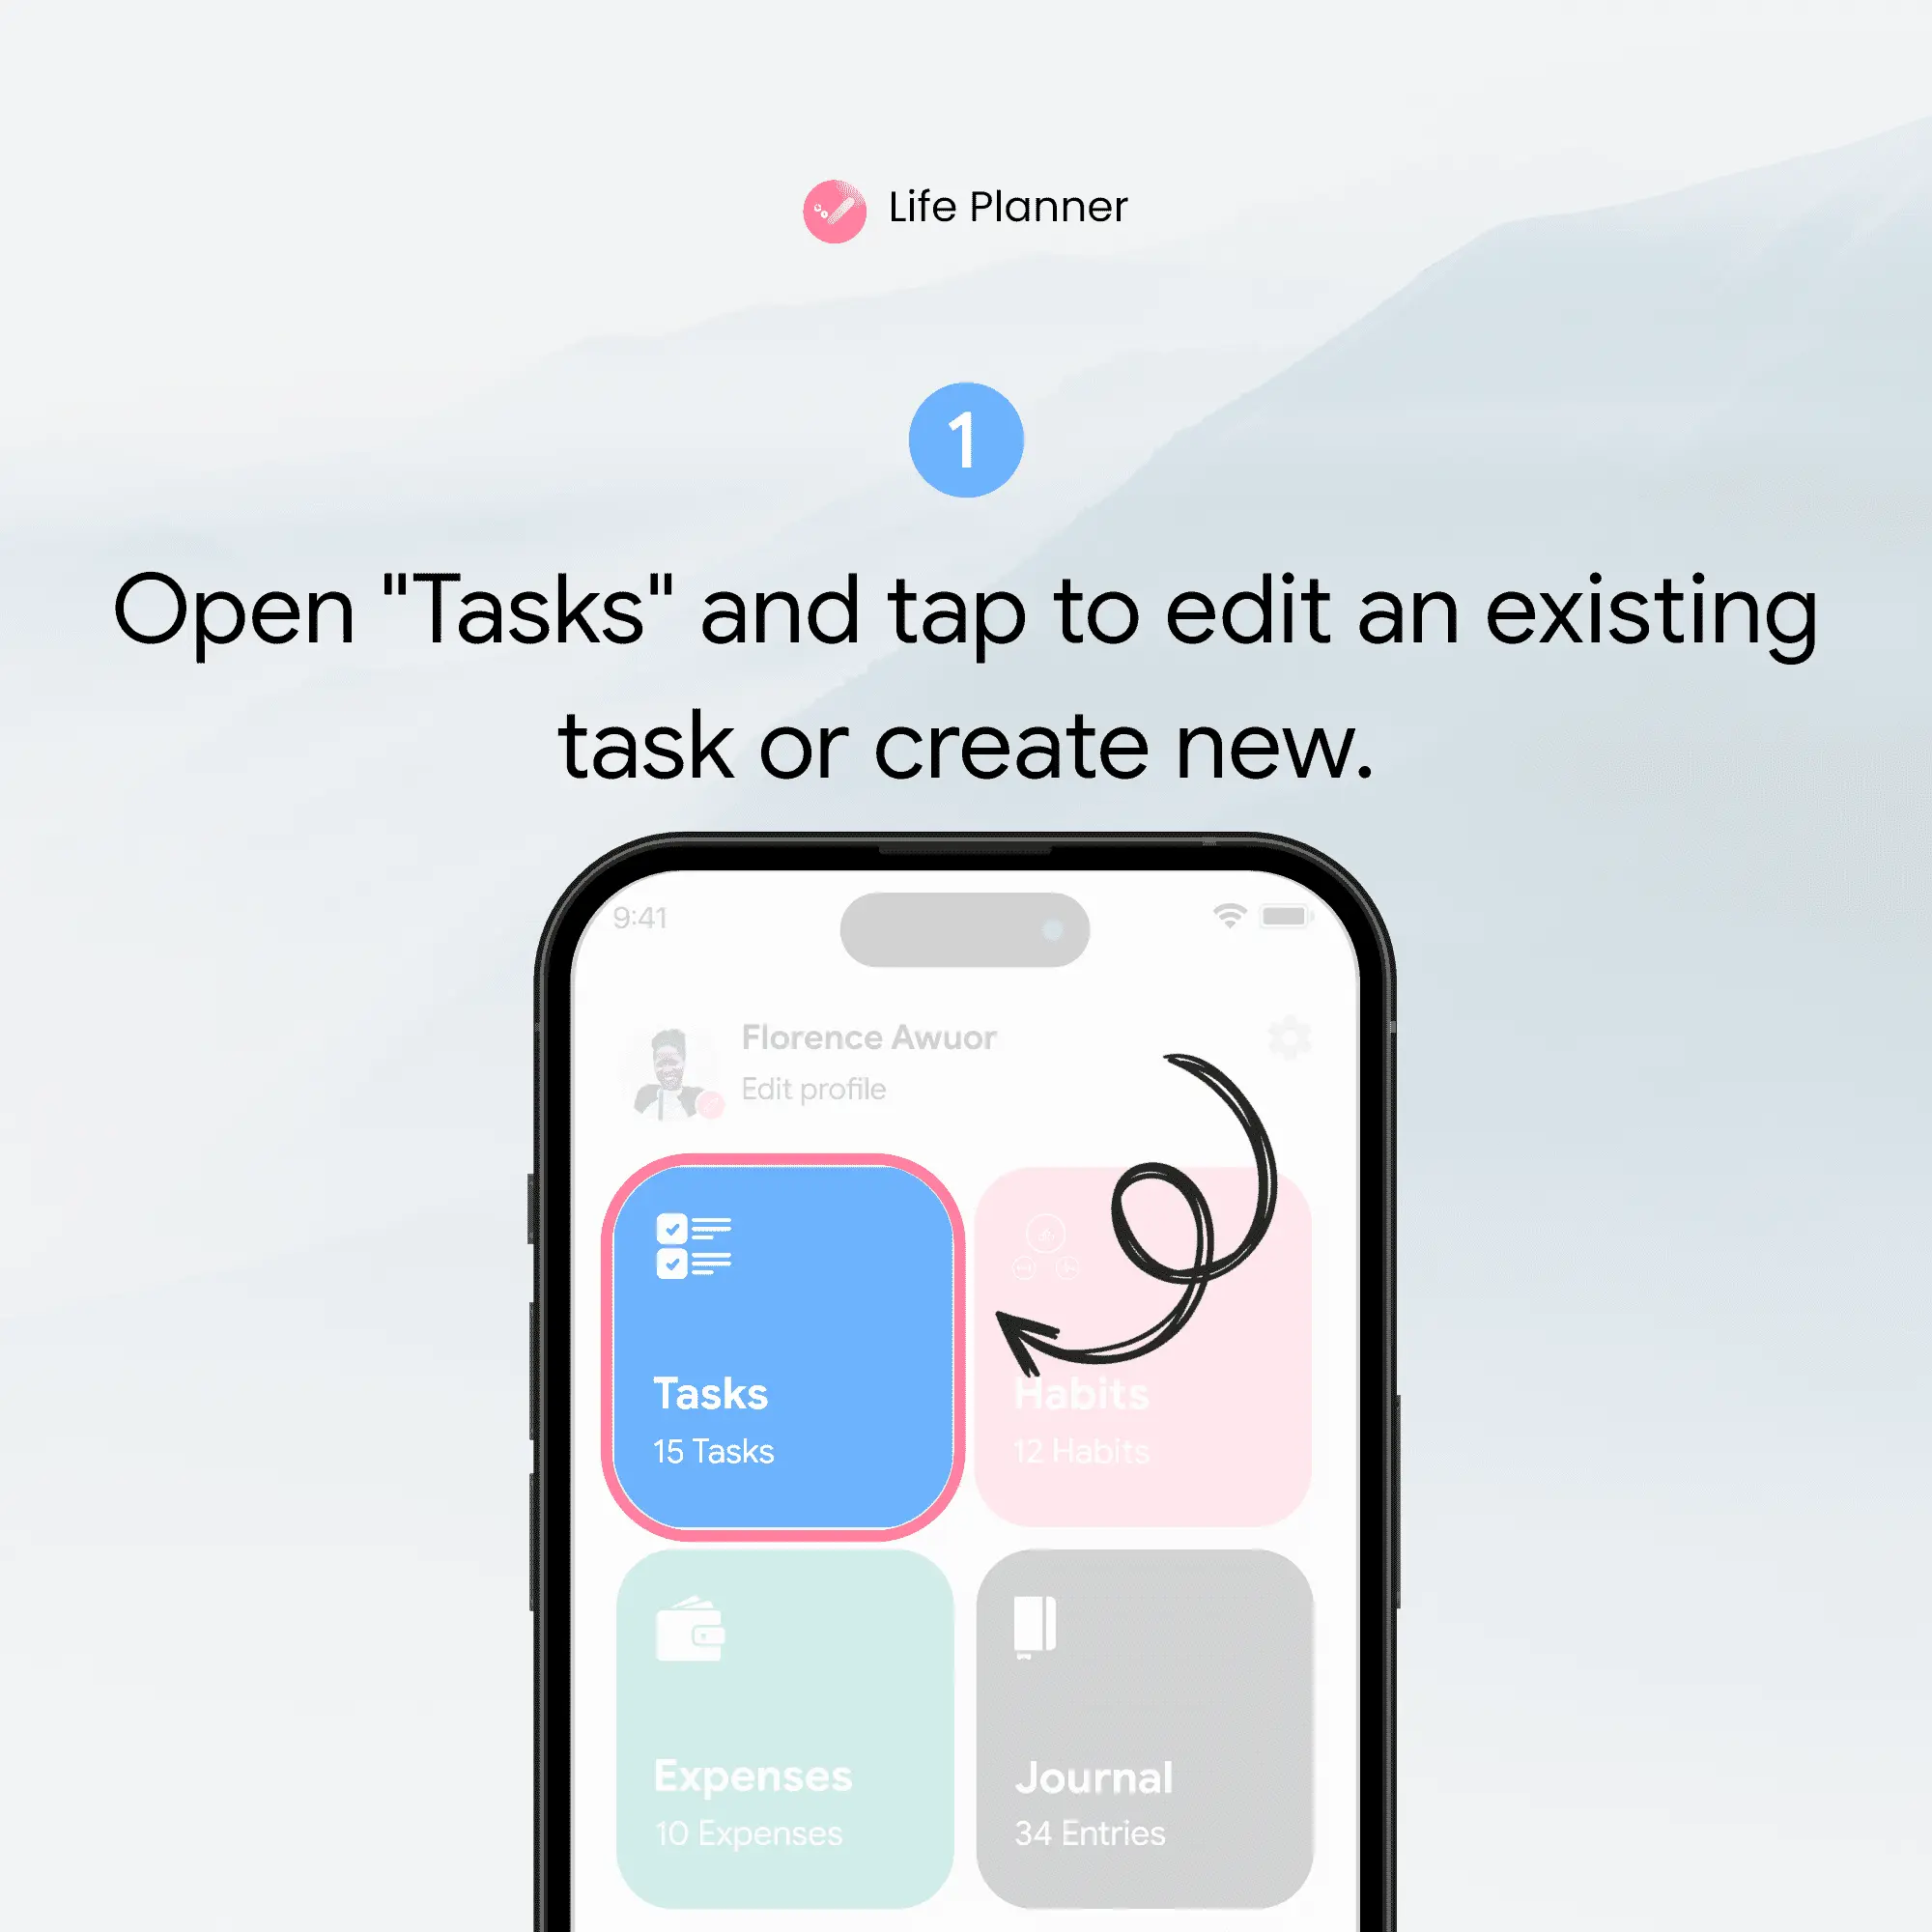
The first step in managing your to-do list with Life Planner is navigating to the "Tasks" menu on the dashboard. This is your central hub for all task-related activities.
- Step 1: Open Life Planner and log into your account.
- Step 2: On the dashboard, locate and tap on the "Tasks" menu. This will bring up your existing tasks.
- Step 3: To edit an existing task, simply tap on the task you want to update. If you want to add a new task, look for the "Add Task" button, usually represented by a plus (+) sign or an "Add" option.
2. Setting Deadlines for Tasks
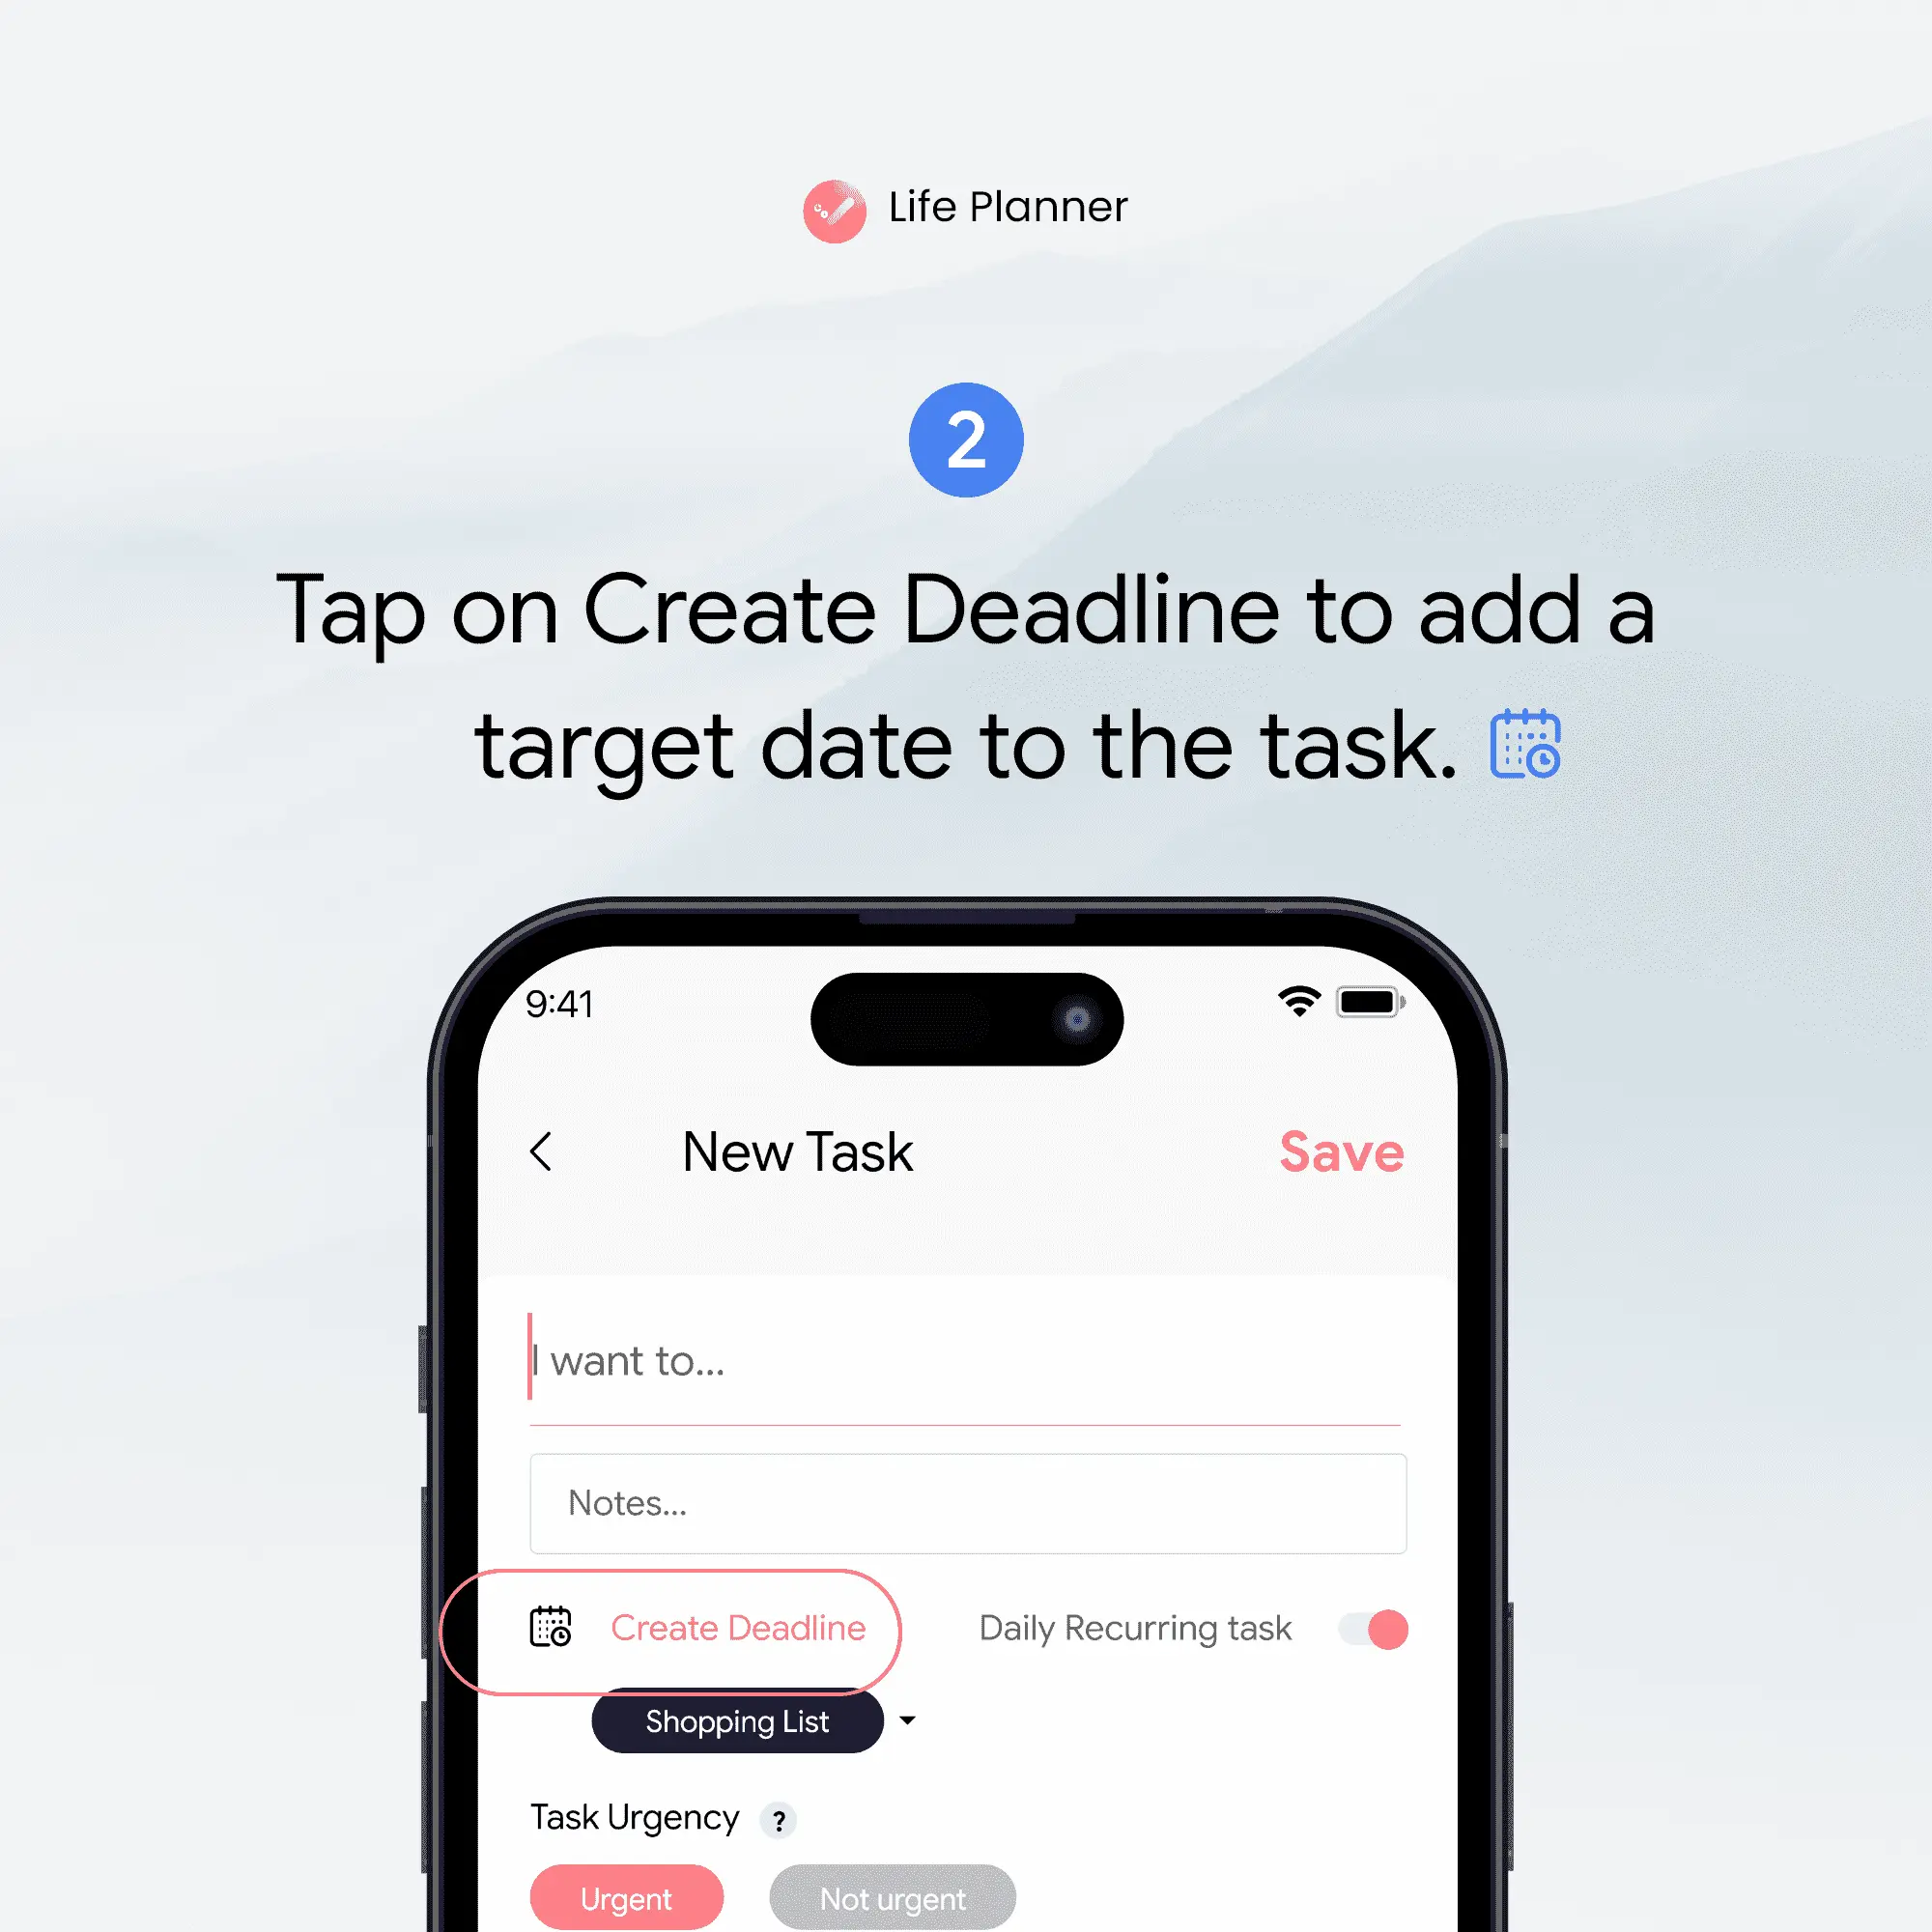
Deadlines are crucial for ensuring tasks are completed on time. Life Planner makes it easy to create and manage deadlines for your tasks.
- Step 1: After selecting or creating a task, look for the "Create Deadline" option. This is often located in the task details section.
- Step 2: Tap on "Create Deadline" to open the date and time picker.
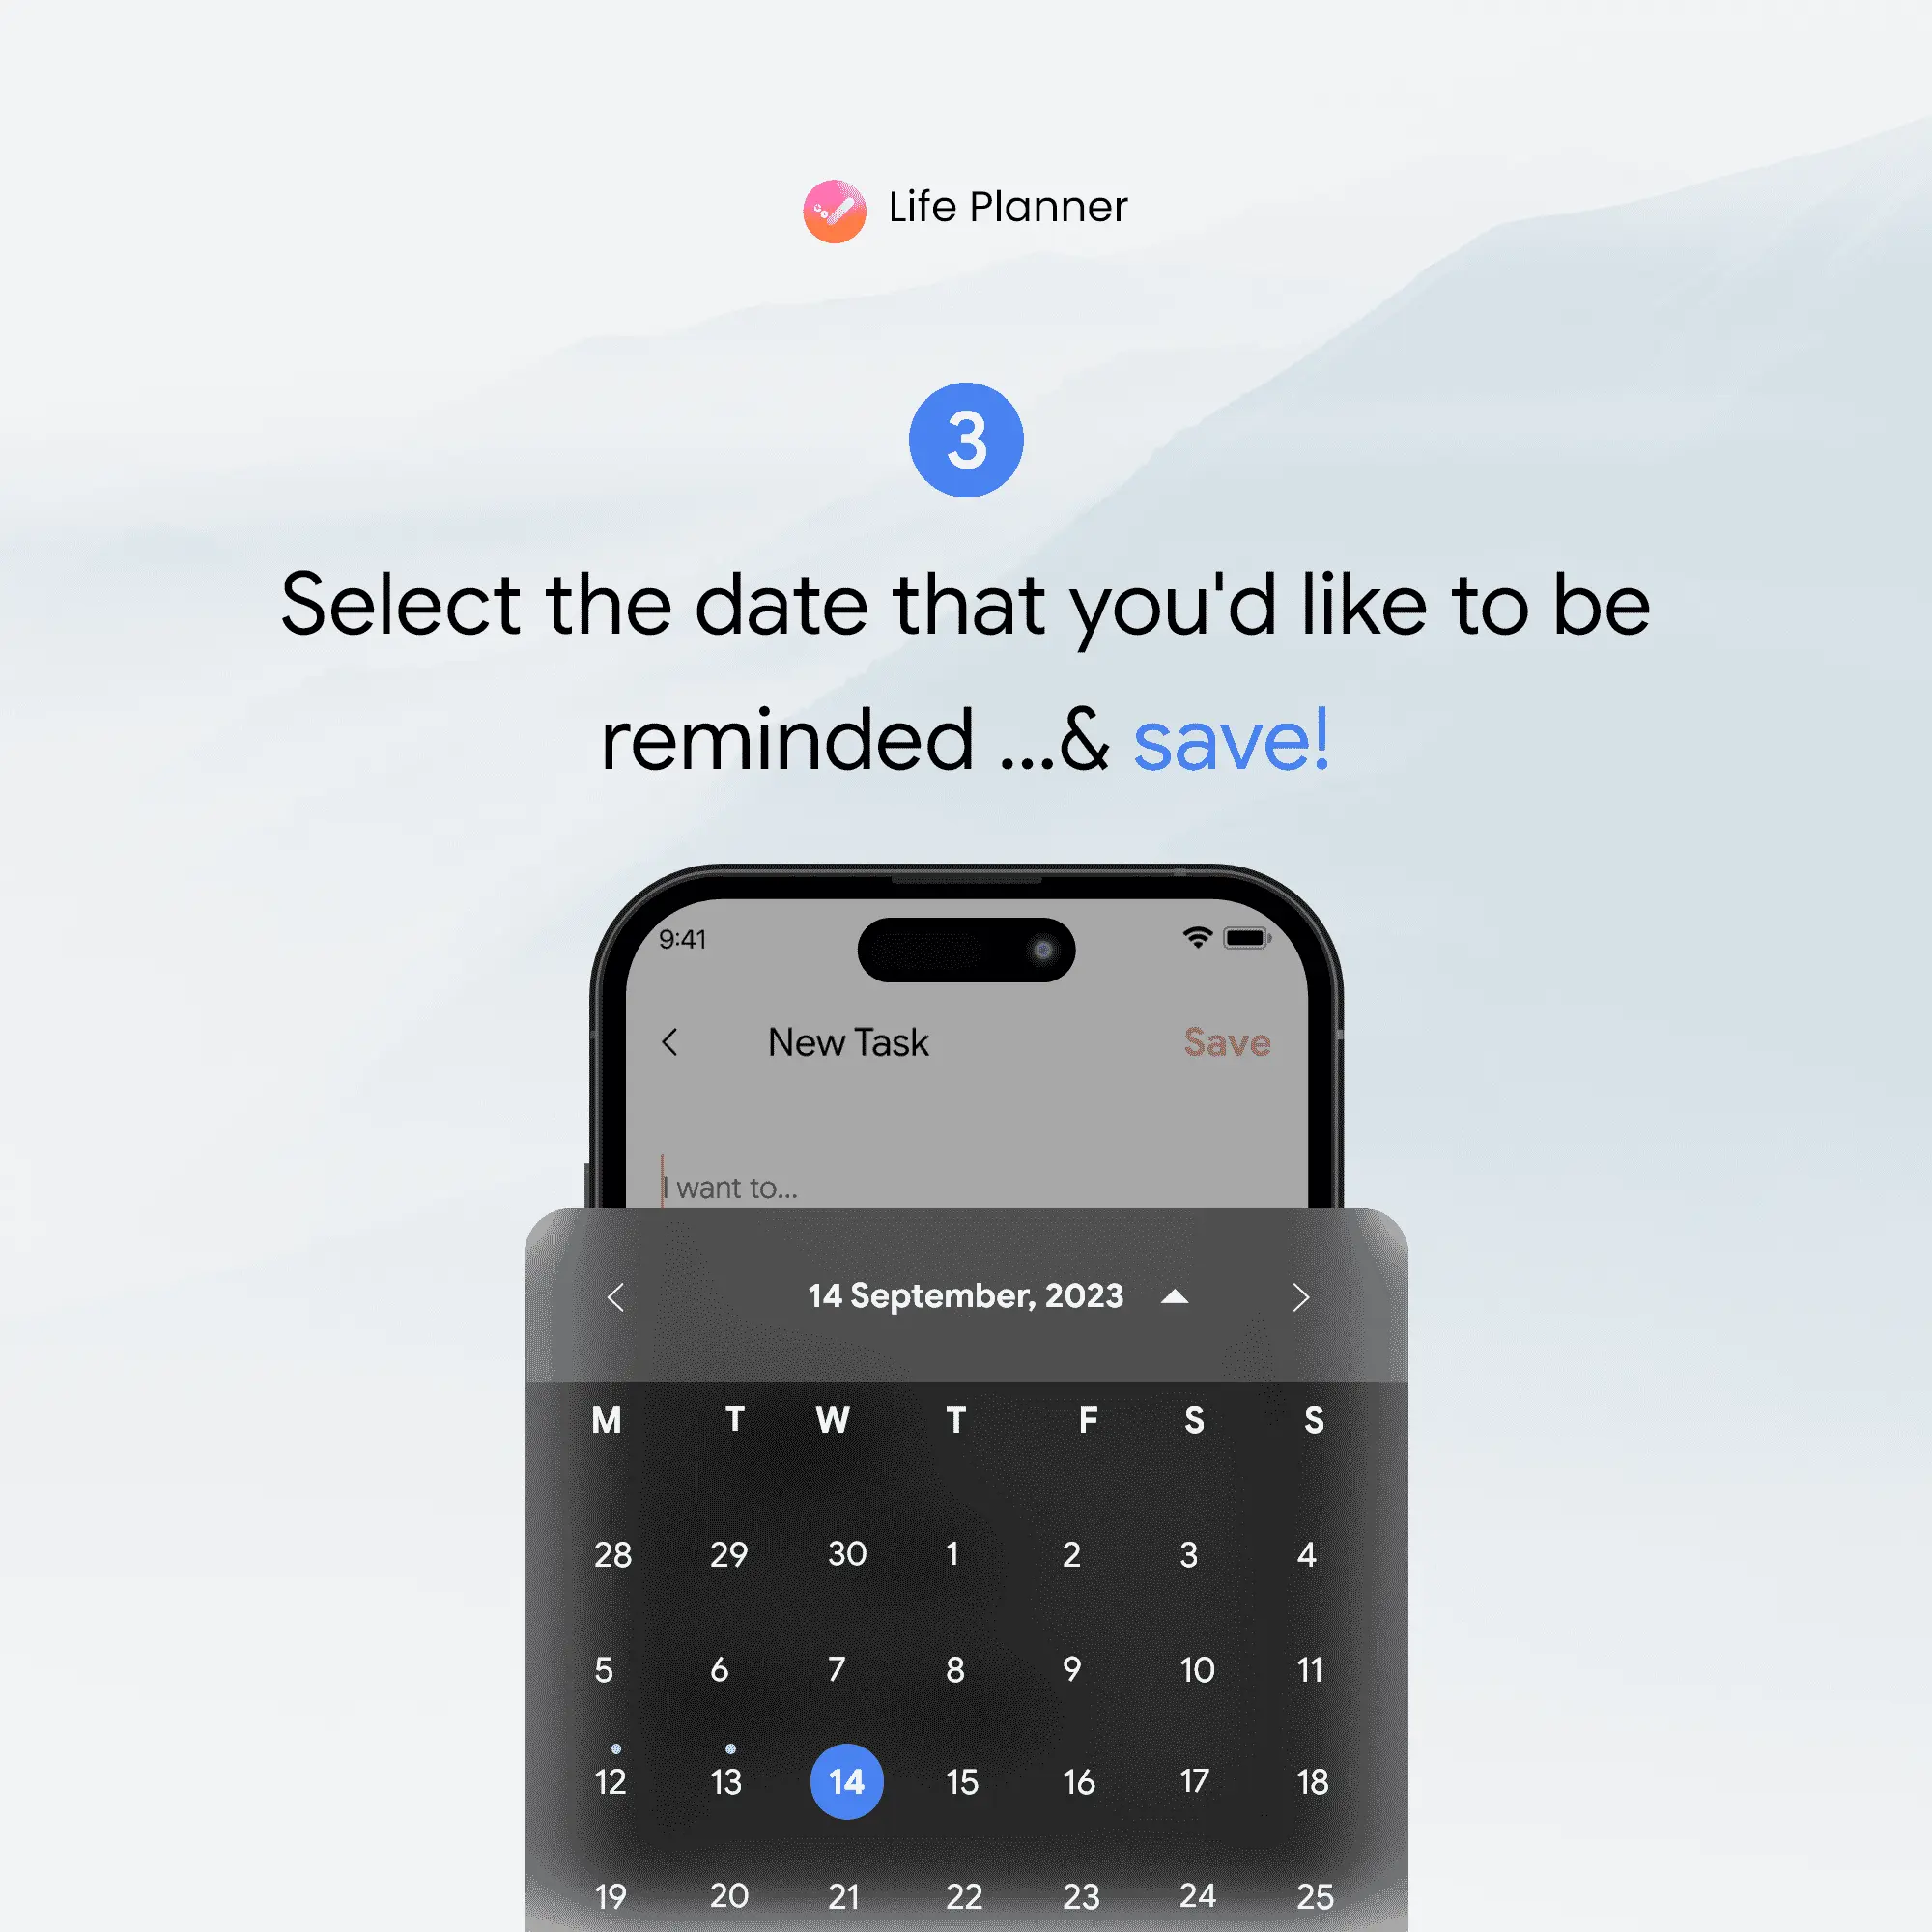
- Step 3: Select your desired deadline date and time, then confirm your selection.
By setting a deadline, you're not only specifying when a task needs to be completed but also prioritizing it within your overall schedule.
3. Setting Reminders for Tasks
Reminders are a great way to ensure you stay on top of your tasks, especially for those with upcoming deadlines. Life Planner allows you to set custom reminders for each task.
- Step 1: Within the task details, find the "Set Reminder" option.
- Step 2: Tap on it and choose the type of reminder you prefer. You can usually set reminders for specific times, such as an hour before the deadline or a day in advance.
- Step 3: Save the reminder settings.
With reminders in place, you'll receive timely notifications, prompting you to focus on tasks that are due soon.
4. Saving Your Tasks
Once you've added all the necessary details, don't forget to save your task.
- Step 1: After setting the deadline and reminders, look for the "Save" button.
- Step 2: Click "Save" to store the task with all the updated information.
Saving your task ensures that all your changes are recorded and that the task is updated in your to-do list.
5. Ensuring Nothing Slips Through the Cracks
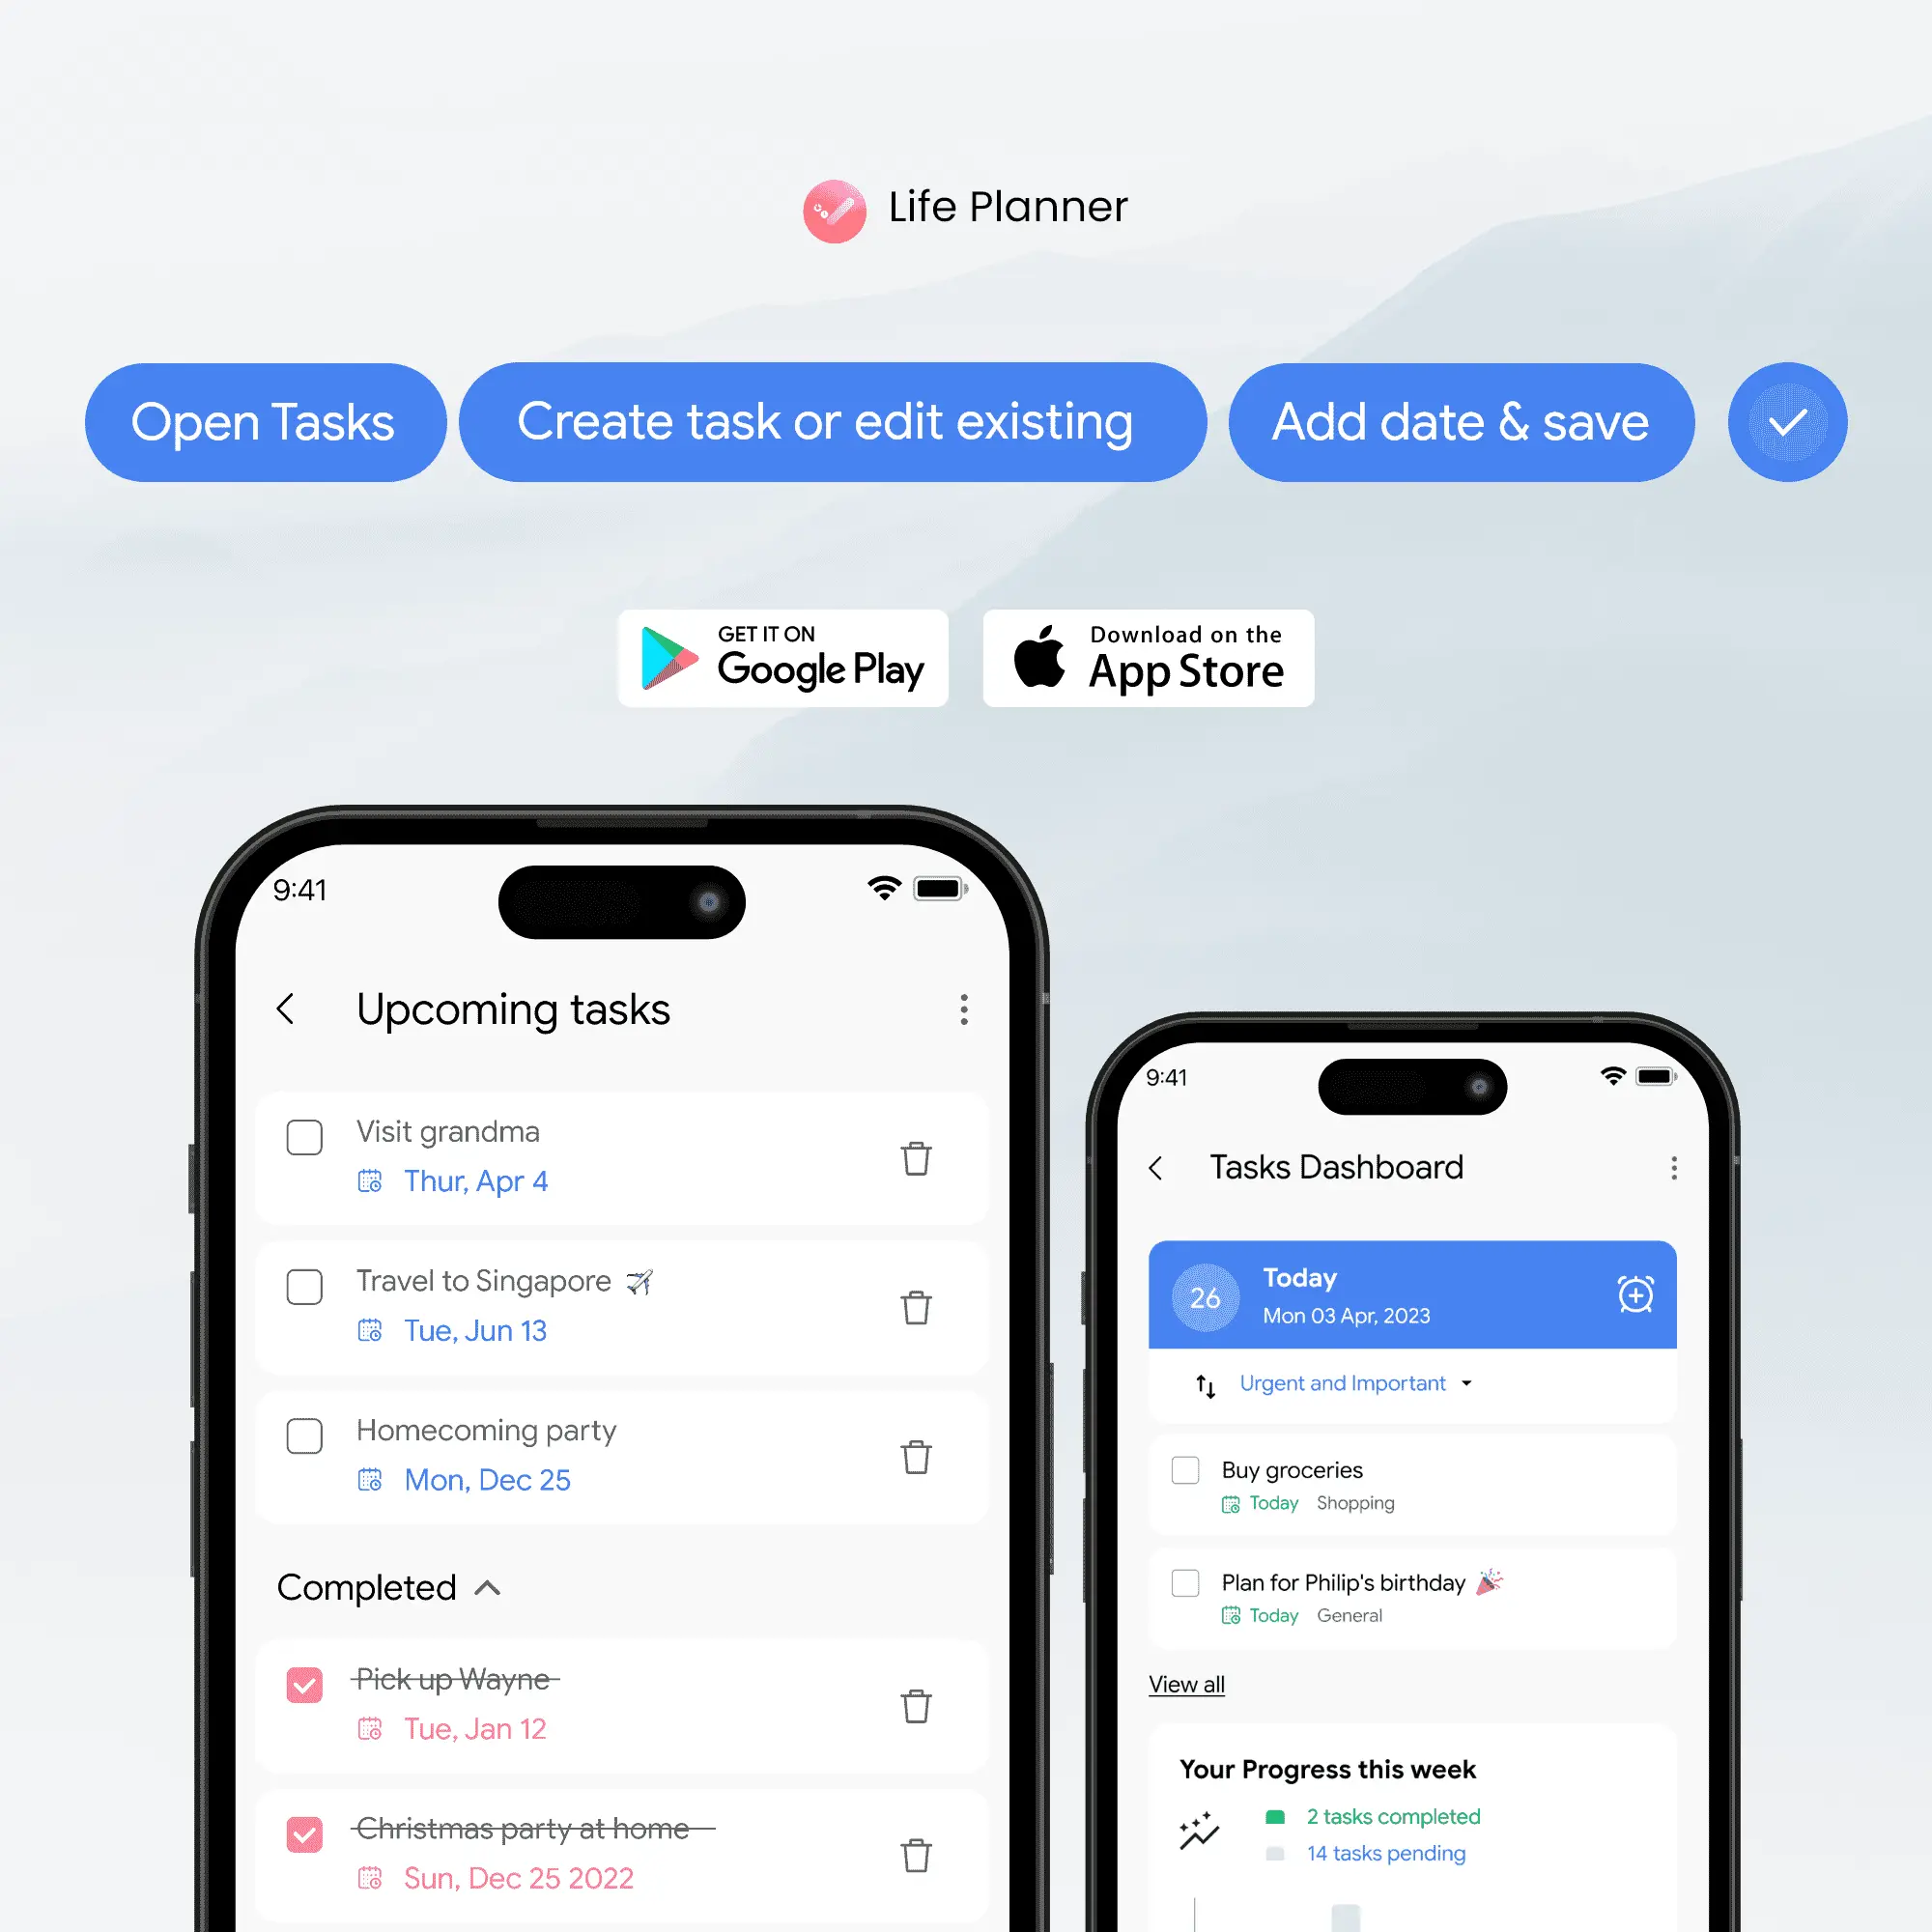
Life Planner's robust features are designed to help you stay on top of your most important tasks. By making full use of deadlines and reminders, you can ensure that nothing important ever slips away.
- Tip: Regularly review your tasks on Life Planner. Check for upcoming deadlines and adjust reminders as needed to keep everything on track.
- Tip: Utilize the dashboard's overview to get a quick glance at your tasks and their deadlines, helping you prioritize effectively.

Managing your to-do list with Life Planner is straightforward and highly effective. By tapping into the "Tasks" menu, setting deadlines, configuring reminders, and saving your tasks diligently, you can streamline your workflow and boost your productivity. Don't let important tasks slip away – harness the power of Life Planner to stay organized and on top of your game. Start implementing these steps today and experience the difference in your task management routine!